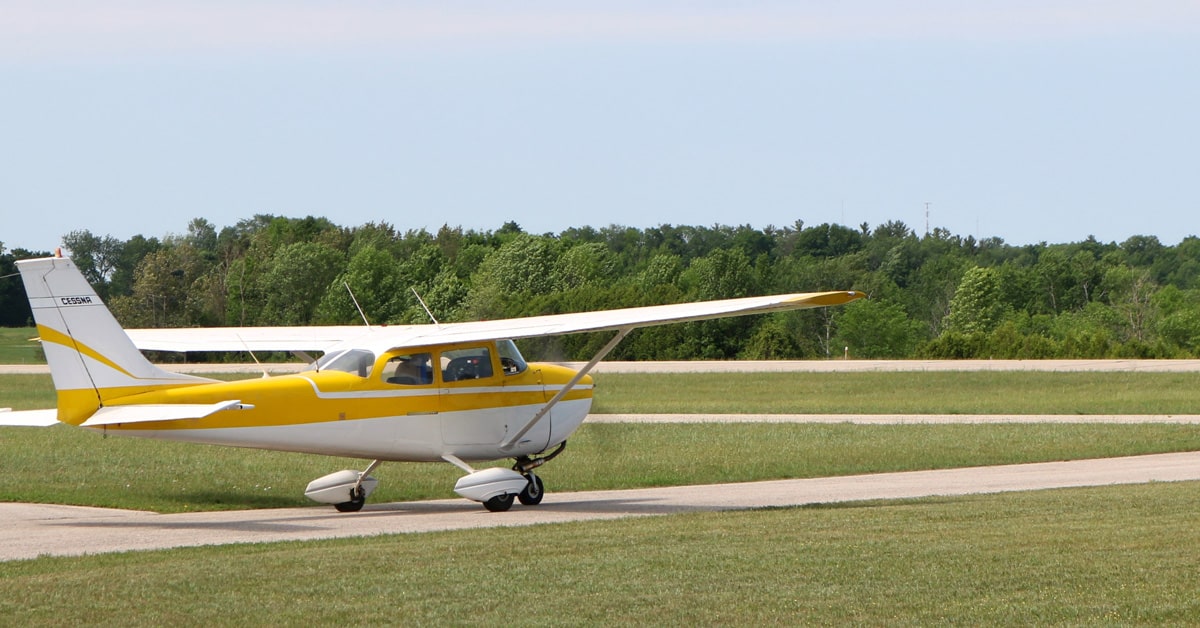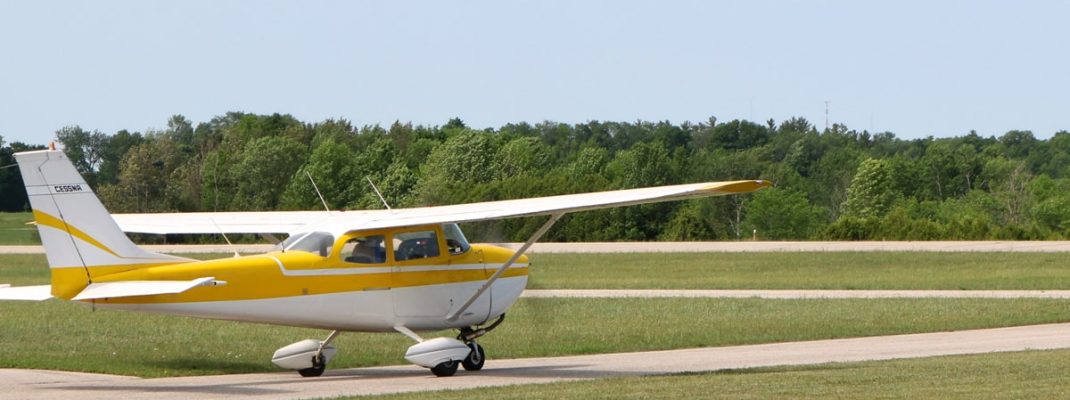
We’re devoting this week’s posts to the VOR, a radio navigation system used worldwide by private and commercial pilots. This introduction comes from The Student Pilot’s Flight Manual, by William Kershner.
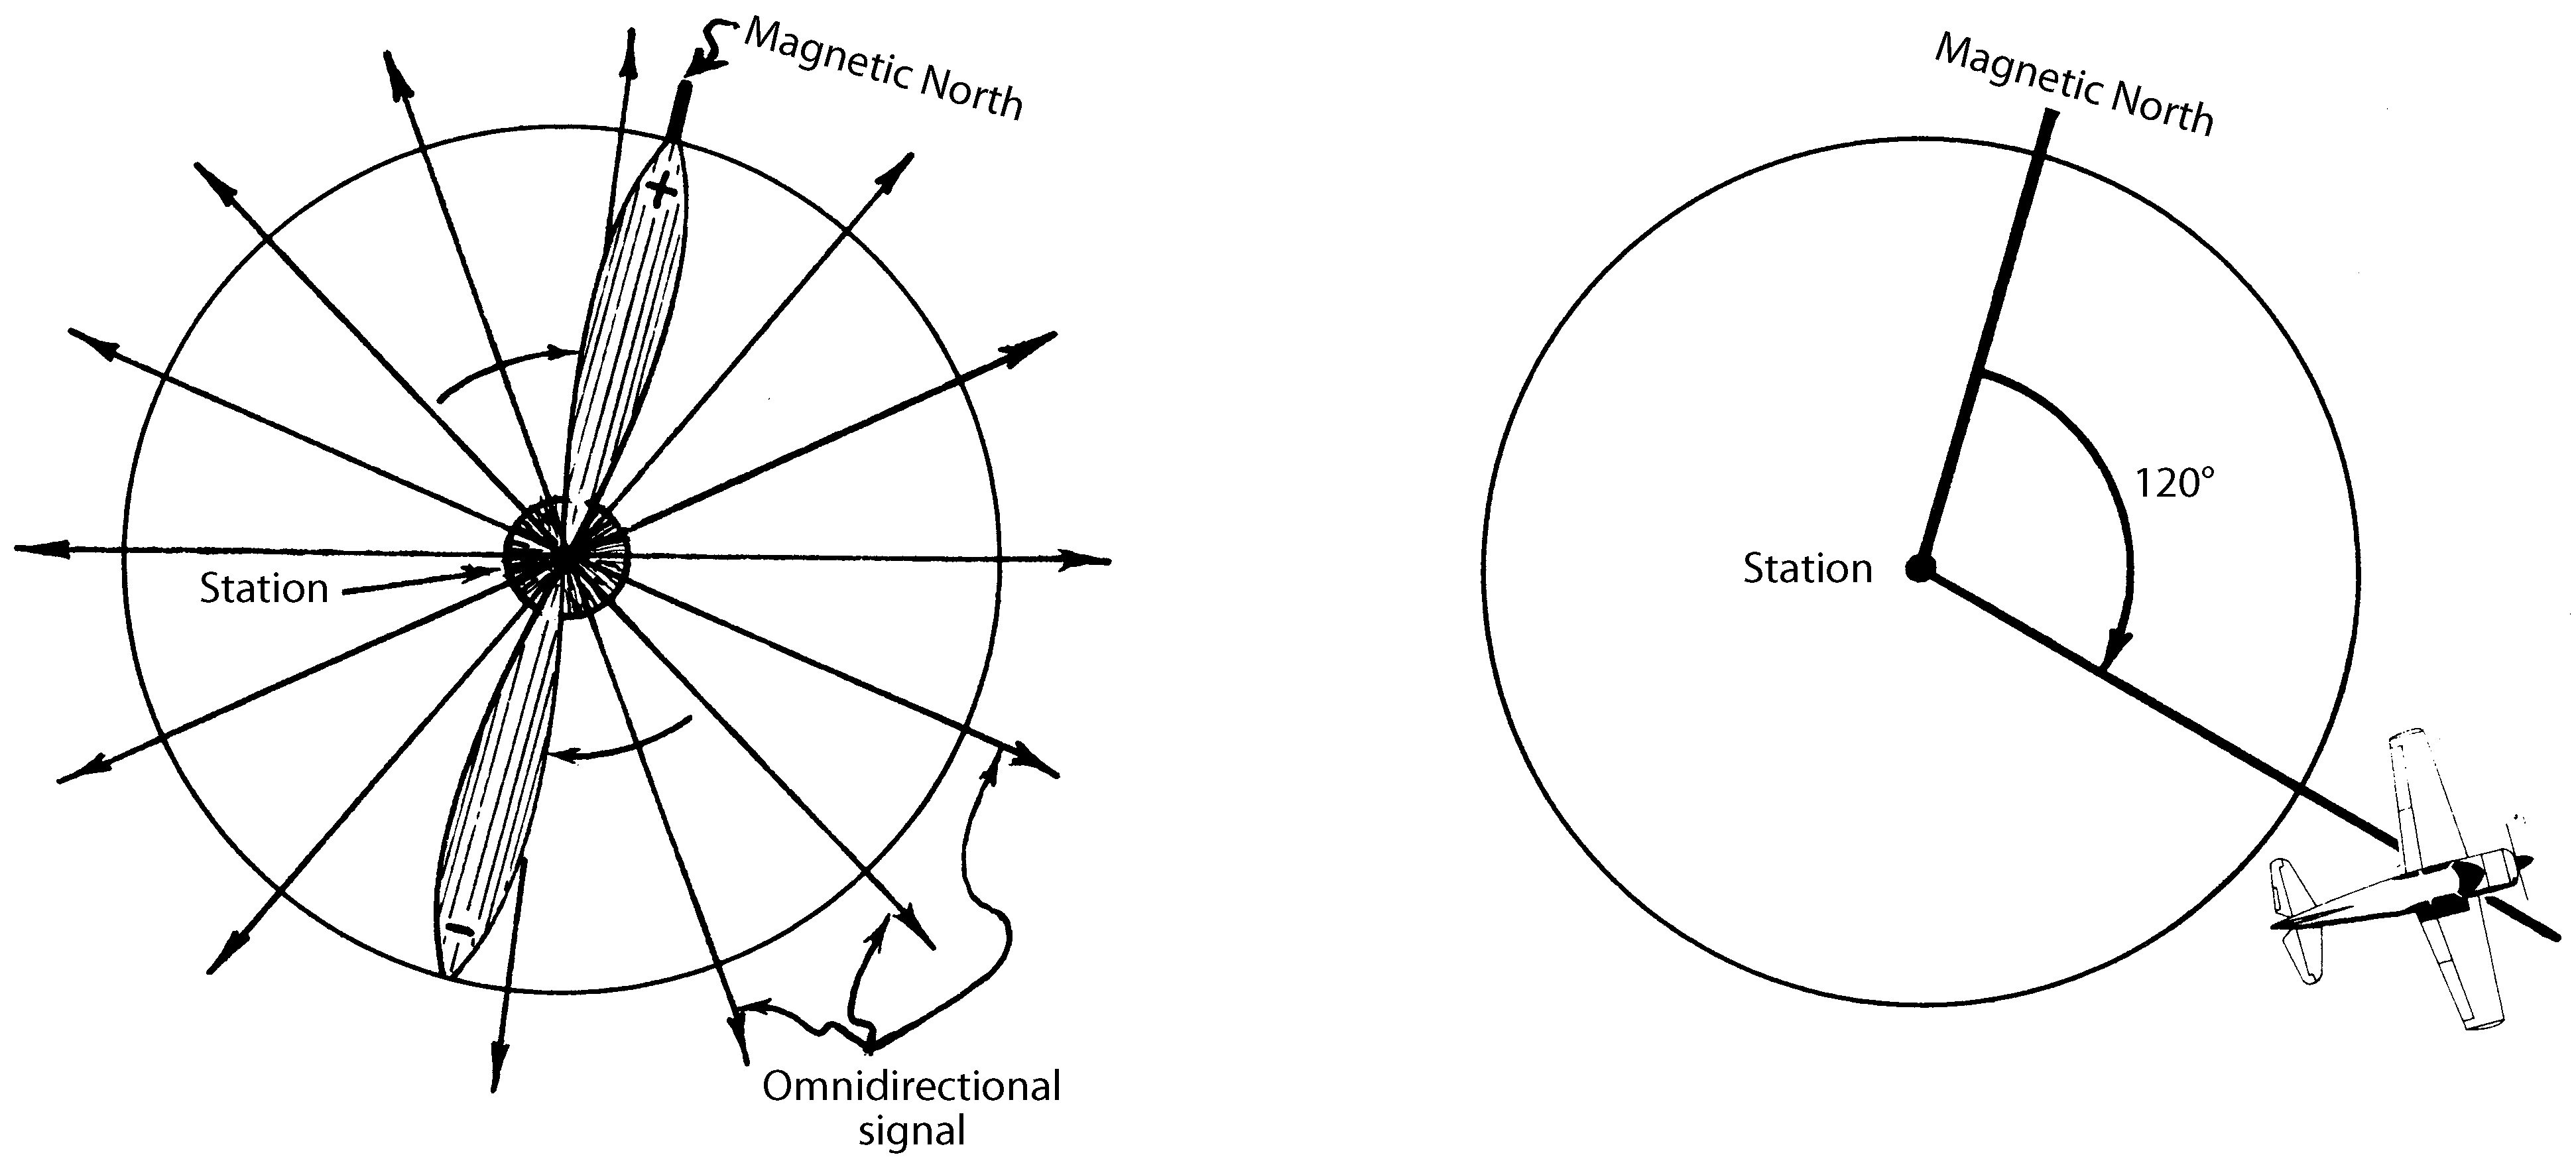
The most useful of the enroute radio navigation aids, other than GPS, is the VHF omnirange, or VOR as it is sometimes called. The VOR frequency band is from 108.00 to 117.95 MHz and uses the principle of electronically measuring an angle. The VOR puts out two signals. One is all-directional (or omnidirectional) and the other is a rotating signal. The all-directional signal contracts and expands 30 times a second, and the rotating signal rotates clockwise at 30 revolutions per second. The rotating signal has a positive and a negative side.
The all-directional or reference signal is timed to transmit at the same instant the rotating beam passes magnetic north. These rotating beams and the reference signal result in radial measurements.
Your omni receiver picks up the all-directional signal. Some time later it picks up the maximum point of the positive rotating signal. The receiver electronically measures the time difference, and it is indicated in degrees as your magnetic bearing in relation to the station (Figure 1). For instance, assume it took a minute instead of 1/30 of a second for the rotating signal to make one revolution. You receive the all-directional signal and 20 seconds later you receive the rotating signal. This means that your position is 20/60 or 1/3 of the way around. (One-third of 360° is 120° and you are on the 120 radial.) The VOR receiver does this in a quicker, more accurate way.
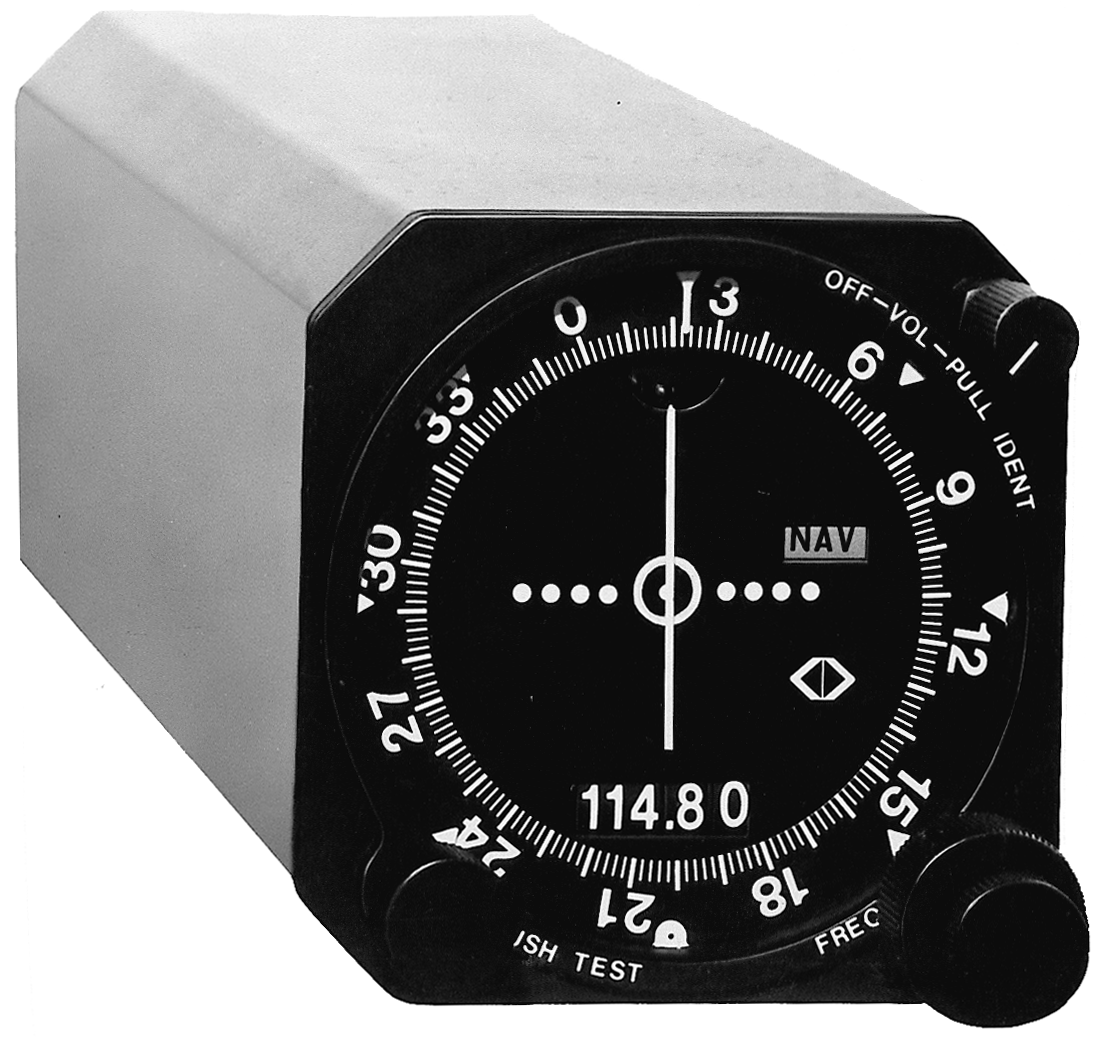
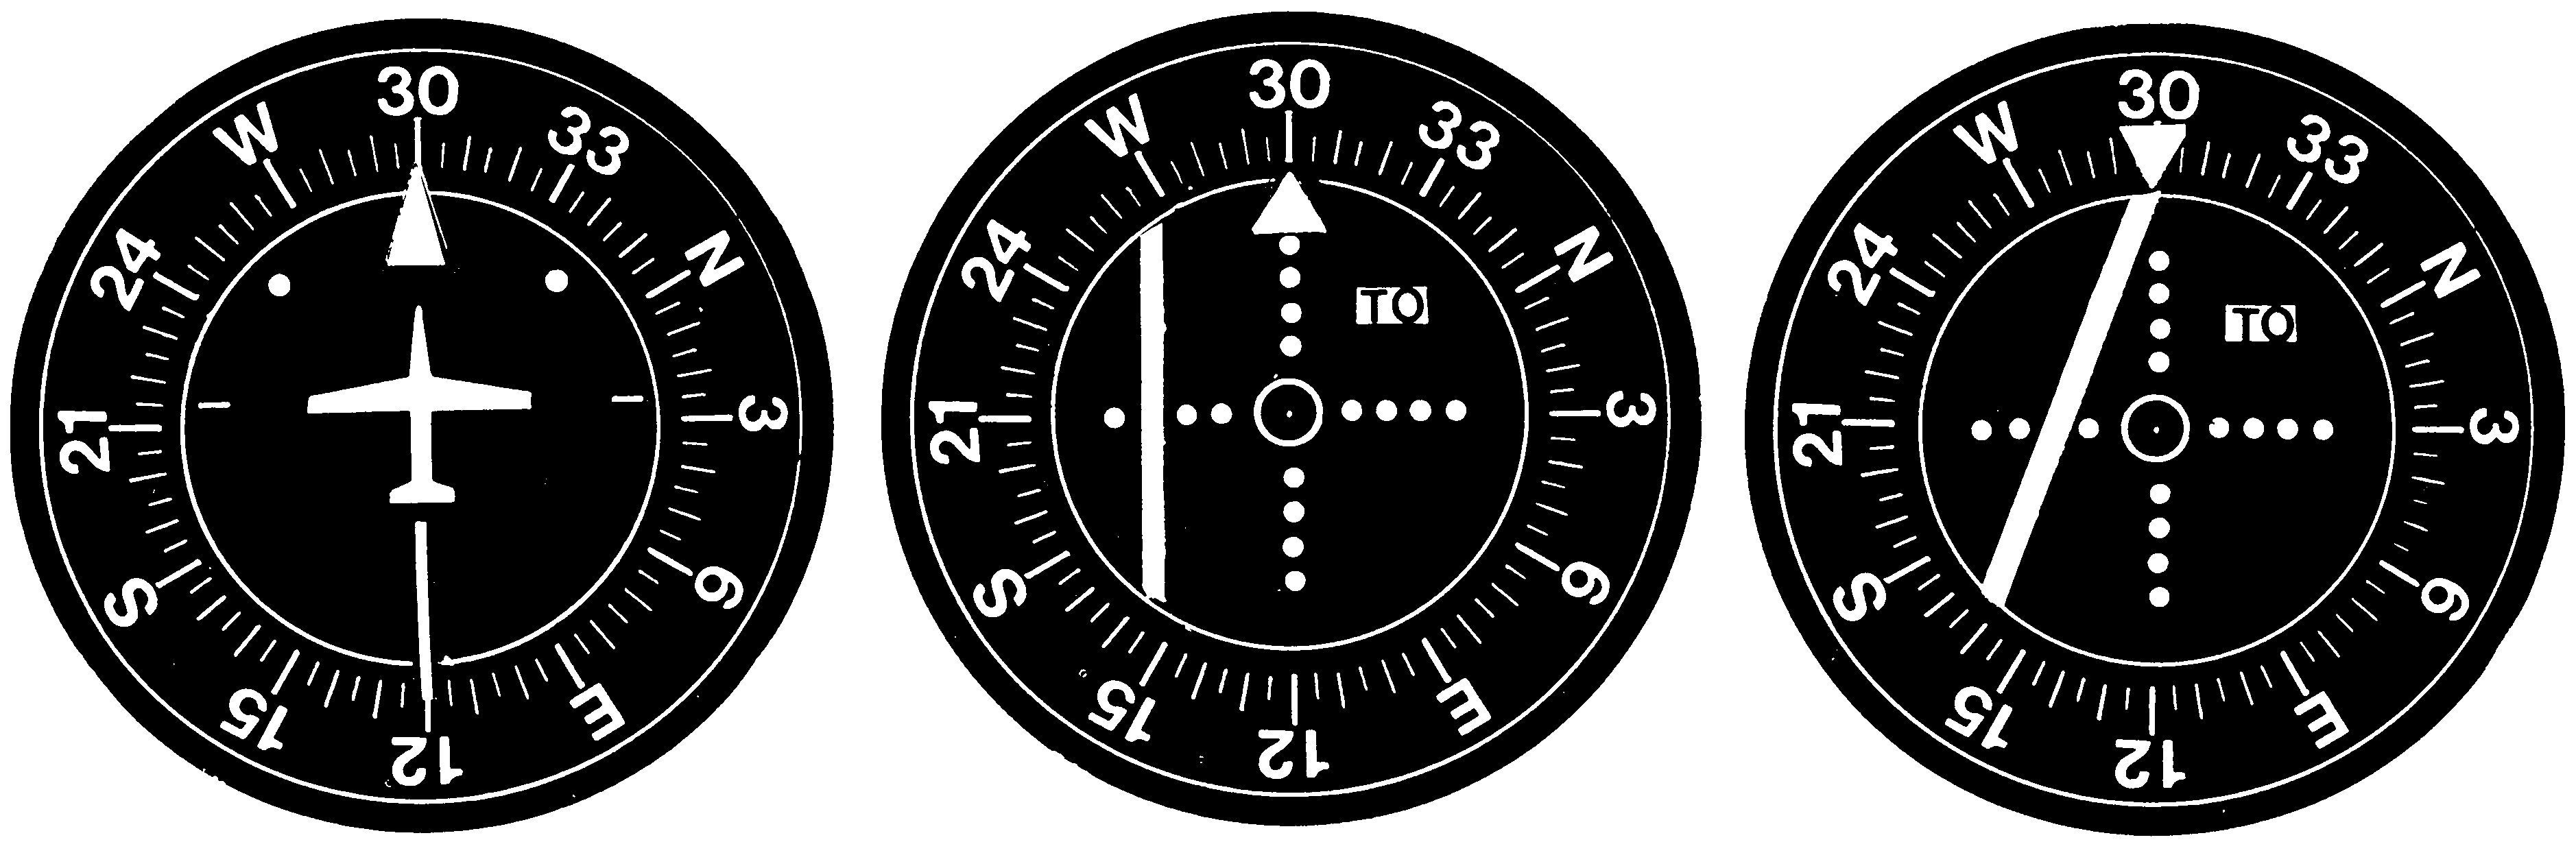
The aircraft VOR receiver presentation is composed of four main parts: (1) a dial to select the frequency of the station you want to use; (2) an azimuth or omni bearing selector (OBS) calibrated from 0 to 360; (3) a course deviation indicator (CDI), a vertical needle that moves left or right; and (4) a TO-FROM indicator. Figure 2 is one type of VOR receiver.
Suppose you want to fly to a certain VOR, say, 30 miles away. First you would tune the frequency and identify the station. You should have some idea where you are in relation to the station, but if not, turn the azimuth or direction selector until the deviation indicator or needle is centered, and the TO-FROM indicator says TO. Read the OBS. This is your course TO the VOR. If you turn on that magnetic course and keep the needle centered, you’ll fly right over the VOR. If the TOFROM says TO and you are going to the station, fly the needle. If the needle moves to the left, the selected bearing is to the left and you will turn the plane in that direction and fly until the needle is centered again. You will have to correct for wind to stay on the selected bearing (Figure 3).
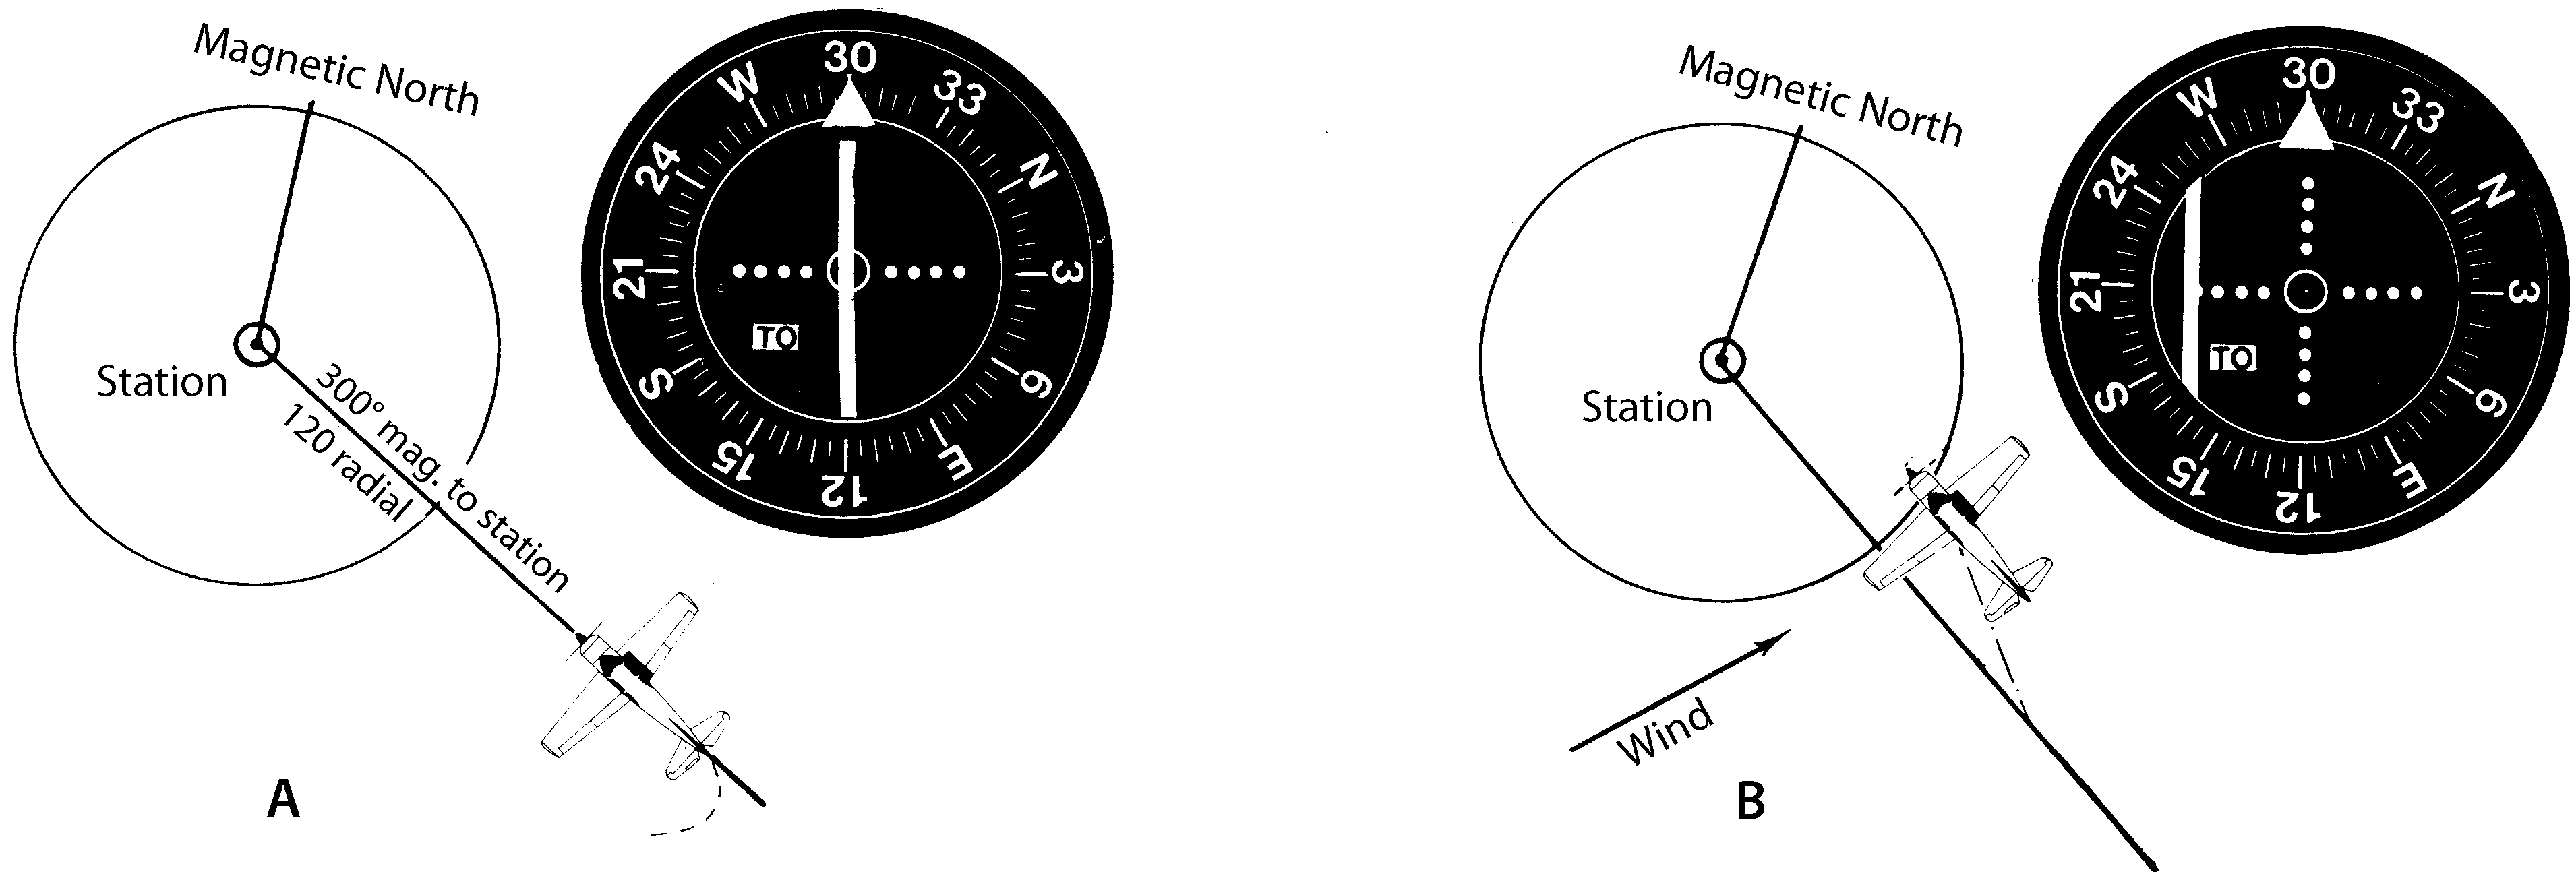
While your bearing to the station is 300°, you are on the 120 (one-two-zero) radial. (The radials are like spokes from the VOR.) (See Figure 3A.) The radials are numbered from 0 through 359, so if the station asked where you were, you’d say, “I’m inbound to the station on the 120 (one-two-zero) radial.” For example, if there’s a westerly wind, the plane may drift from the selected bearing as shown in Figure 3B, and the LEFT-RIGHT needle would look like Figure 4.
The angle of correction or the “cut” you’ll take will depend on the amount that you’ve drifted from course. Usually 30° would be the maximum even at some distance from the station. It may take some time for the needle to center again if you’re far out. After the needle returns to center, turn back toward the original heading, but this time include an estimated wind correction on your compass or heading indicator. Watch the needle and make further corrections as needed.
When you cross over the station, the TO-FROM indicator will oscillate, then fall to FROM. The receiver now says that you are on a bearing of 300° FROM the station. Always make sure your OBS is set close to your compass heading. This way the needle always points toward the selected radial. If you turned around and headed back to the station after passing it on a course of 300° and did not reset the bearing selector to coincide with your heading, the needle would work in reverse. Always set your OBS to the course to be followed; then the needle senses correctly.
The sensing is incorrect if you correct toward the needle, and the needle moves farther away from the center as you fly.
But, back to the station passage: The TO-FROM says FROM and your plane is on a course of 300° FROM the VOR, so the needle is correct. Continue to fly the needle as you did before the VOR was reached.
Most omni needles are set up so that a full deflection from center is 10° or more. If the needle is deflected halfway, you can figure that you are about 5° from your selected bearing.
VORs are identified by Morse code and/or by the automatic recorded voice identification (“Airville VOR”).
The accuracy of the VOR ground facility is generally ±1°, but some stations in mountainous terrain may have errors greater than this for some radials or may be unusable below certain altitudes; this is duly noted in the Airport/Facility Directory.
We’ll have more on the VOR from our very own CFI this Thursday.